 Skip to content
How to Weld Aluminum?
Welding aluminum can be a challenging yet rewarding skill for anyone from DIY enthusiasts to experienced welders. The vibrant, silver-toned metal is used widely across industries, from construction and automotive to home repair projects. Cultivating the ability to work with aluminum is, therefore, both practical and valuable.
Whether you’re a weekend warrior tackling household repairs or a professional trying to enhance your skillset, this blog provides a complete guide on how to weld aluminum. Here, we’ll break down every step for welding aluminum safely and effectively. Plus, if you’re in Florida and prefer to leave it to the pros, Buzz Box Weld Works is here for all your mobile welding needs!
Why Learn Aluminum Welding?
Aluminum is a lightweight, durable material with exceptional corrosion resistance, making it an incredibly versatile choice for a wide range of projects. Commonly found in bicycle frames, boats, automotive components, outdoor furniture, and architectural elements, aluminum welding can open up countless opportunities for fabricating or repairing such items yourself.
While aluminum welding is complex due to the metal’s sensitivity and lower melting point, mastering this skill can lead to greater DIY freedom, better job prospects in metalworking professions, and the ability to handle more advanced repair and fabrication jobs.
Understanding Aluminum as a Material
Aluminum’s Properties
Welding aluminum is unique because the material behaves differently from other metals like carbon steel. Here are some key aluminum properties to keep in mind before starting a weld:
- High thermal conductivity: Aluminum dissipates heat quickly, requiring a high-quality, stable heat source.
- Oxide layer: Aluminum naturally forms a thin oxide layer on its surface, which melts at a temperature much higher than the base metal. This layer must be removed before welding.
- Low melting point: Aluminum melts around 1,200°F, significantly lower than steel, which makes it easy to overheat and warp.
Softness: Unlike steel, aluminum is soft, making it more prone to contamination, dents, and cracks during preparation and welding.
Common Uses of Aluminum
- Automotive components (radiators, body panels)
- Marine frameworks (boats, docks)
- Construction materials (window frames, scaffolding)
- Household items (appliances, outdoor furniture)
Types of Aluminum Alloys for Welding
There are two main categories of aluminum alloys to understand before welding:
- Wrought Alloys (e.g., 6061, 5052): Typically used for fabrication projects due to their strength and corrosion resistance.
- Cast Alloys (e.g., A356, A319): Usually softer and better suited for molded or pre-formed components but trickier to weld.
Knowing your alloy will help you select the proper welding technique, equipment, and filler material.
Safety Precautions for Aluminum Welding
Safety cannot be overstated when welding aluminum. Here’s what you’ll need for a secure setup:
- Protective Gear:
- Welding helmet with an auto-darkening lens suitable for TIG/MIG welding.
- Heat-resistant welding gloves.
- Flame-retardant clothing or welding jacket.
- Safety boots with steel toes.
- Ventilation:
Ensure your workspace is well-ventilated to manage fumes and prevent respiratory hazards.
- Fire Safety:
Keep a fire extinguisher nearby and remove any flammable objects or chemicals from the area.
Prioritize safety every step of the way—you want to enjoy welding with peace of mind!
Preparing Your Workspace
An organized, clutter-free workspace is essential for welding aluminum effectively:
- Use a dedicated, clean workstation to avoid material contamination.
- Set up a sturdy welding table with clamps for holding pieces in place.
- Position a power source, such as a TIG or MIG welding machine, in easy reach.
- Install lights to see every detail clearly, and secure cables to prevent tripping hazards.
Tools and Materials Needed
Here’s a checklist of tools and materials for aluminum welding:
- Welding Machine (TIG, MIG, or Stick, depending on your technique)
- Aluminum Filler Wire (matched to your alloy)
- Argon Gas Cylinder (for shielding)
- Wire Brush (stainless steel, for cleaning aluminum)
- Heat Sink (to manage heat on thin aluminum)
- Clamps and Fixtures
- Grinder (optional, for post-weld cleaning)
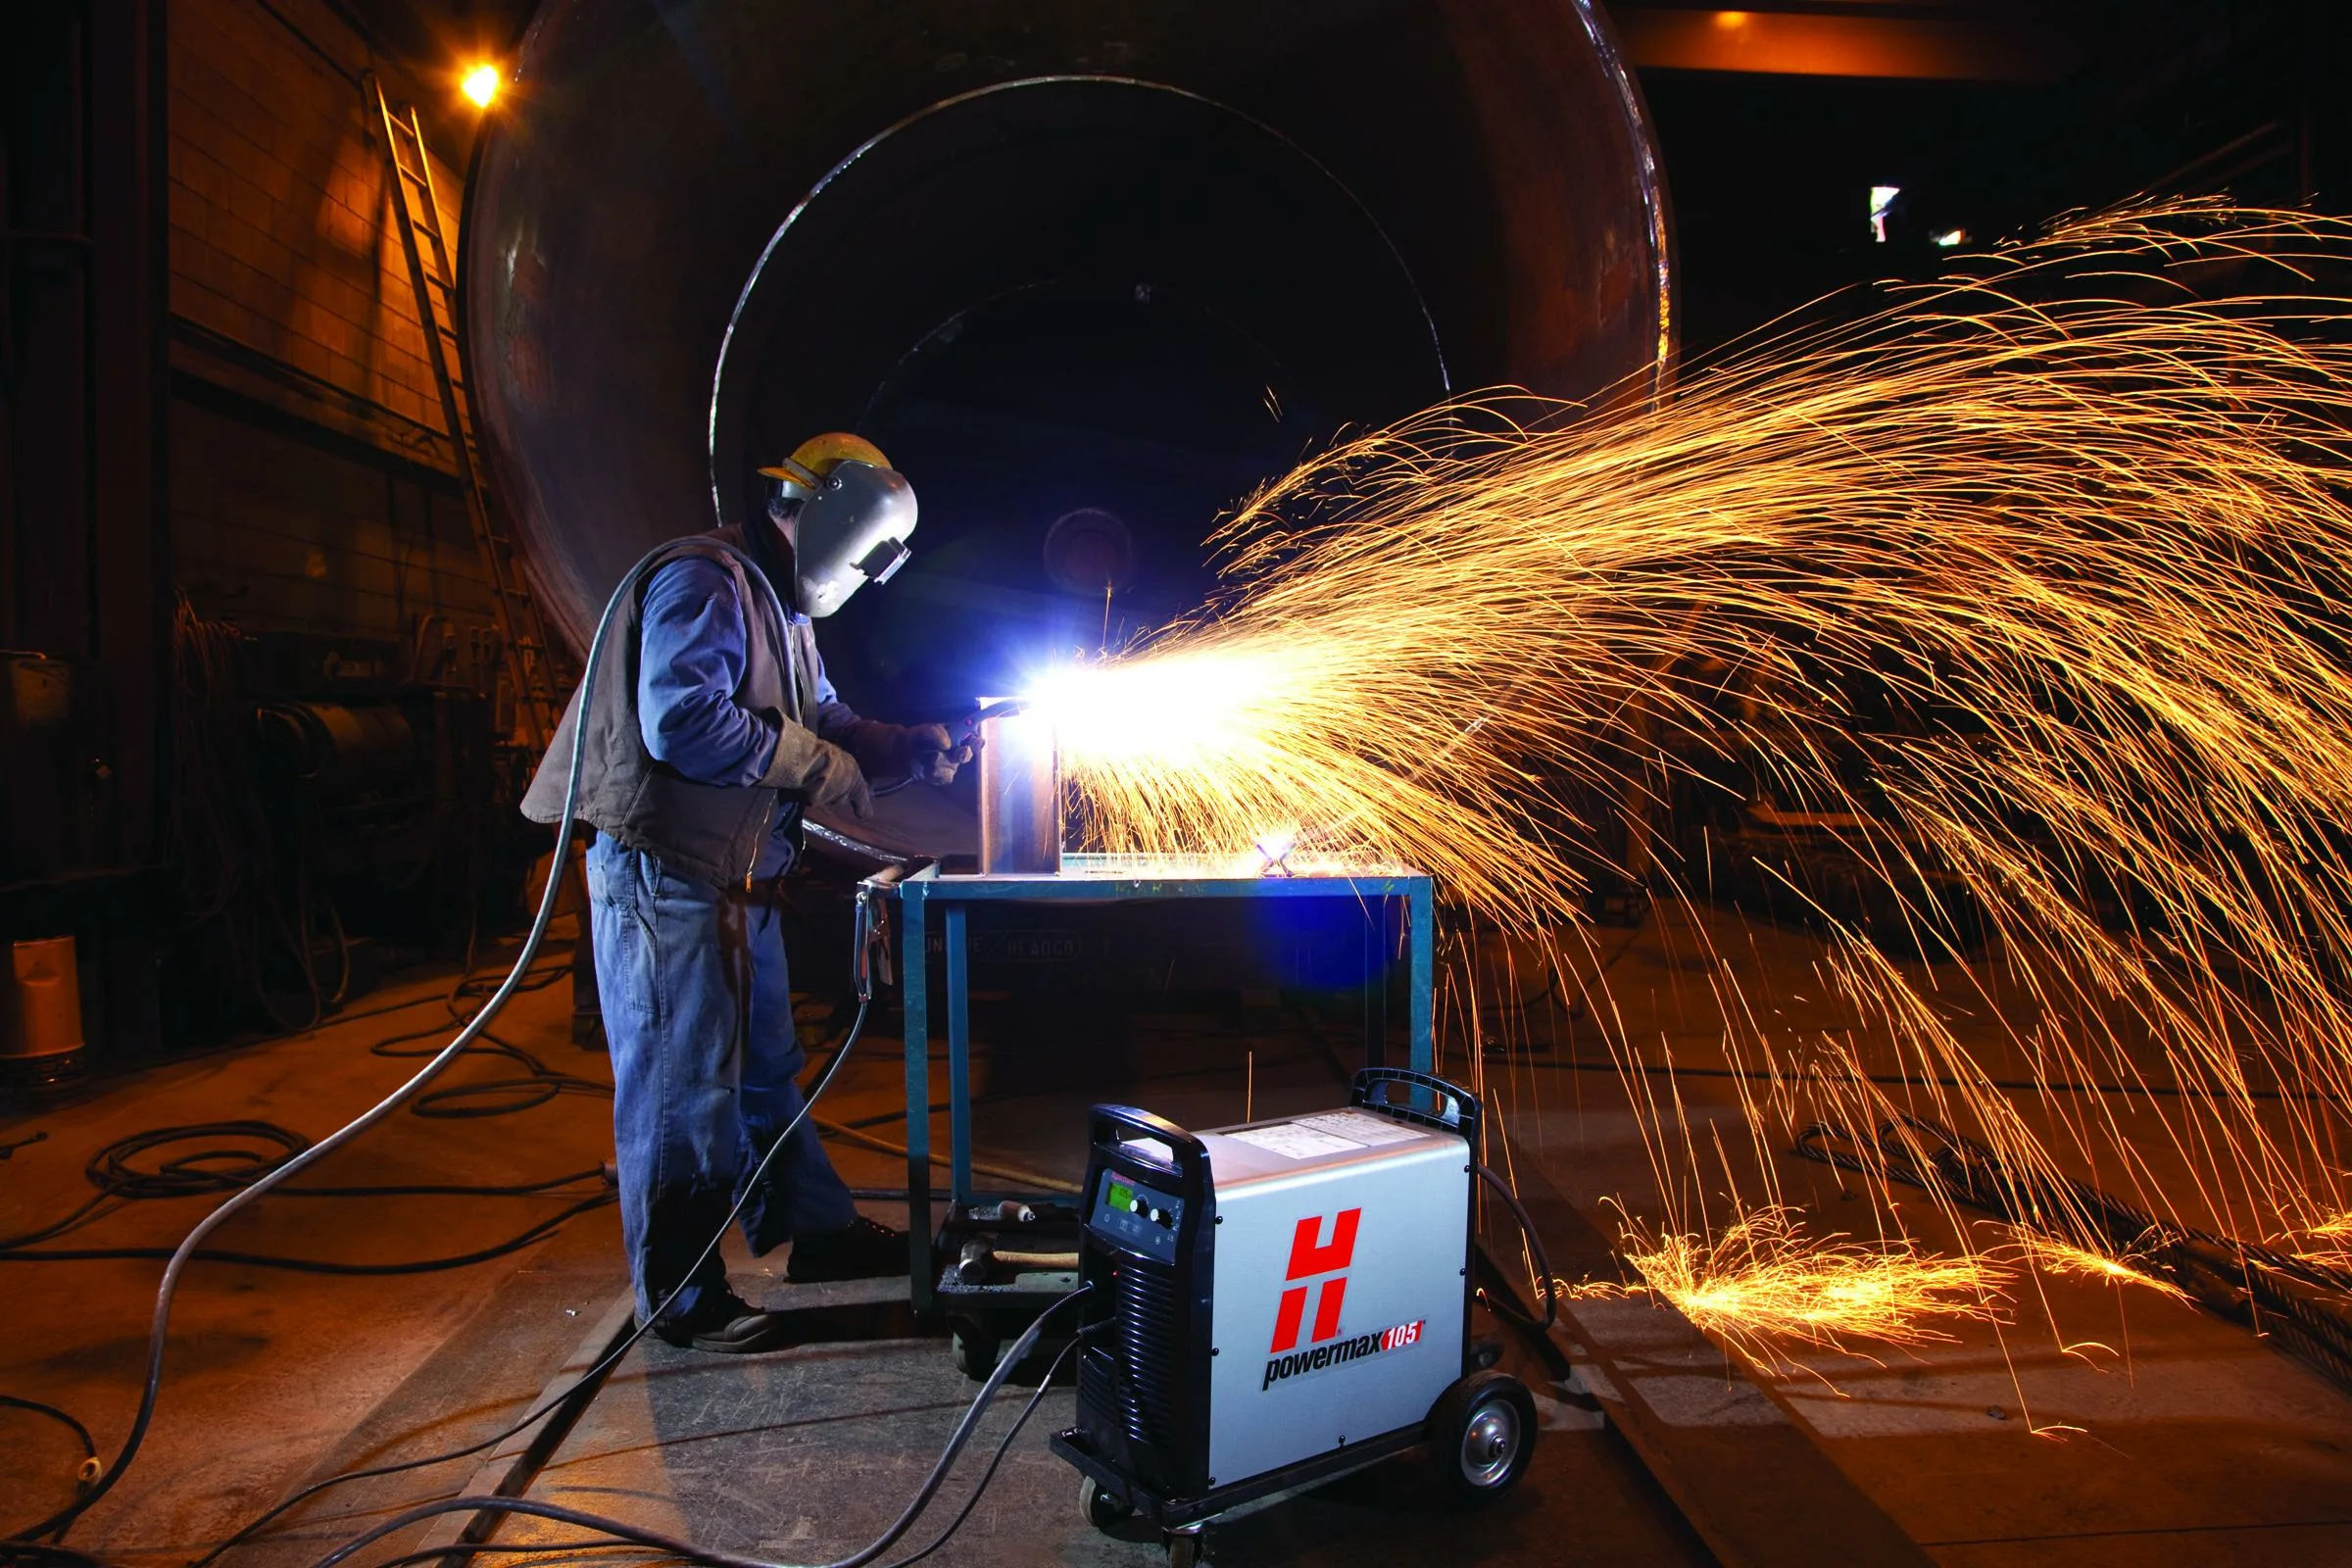
Choosing the Right Technique
There are three primary welding techniques for working with aluminum. Selecting the right one depends on your project’s requirements and your equipment:
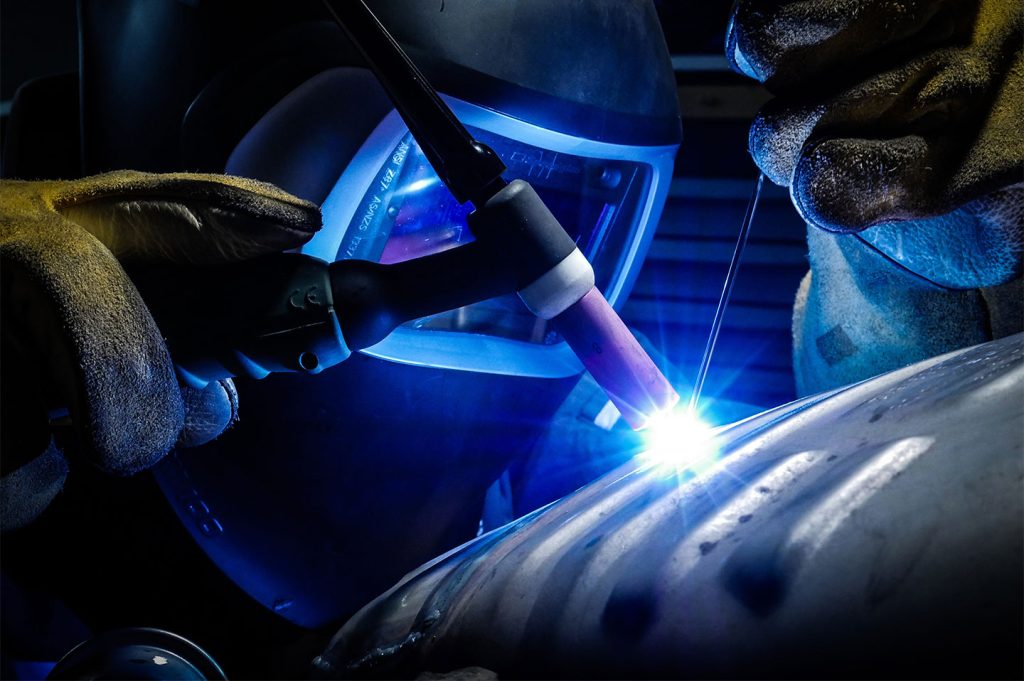
TIG Welding (Tungsten Inert Gas)
- Best For: Thin aluminum sheets and precision welding.
- Advantages:
- Produces clean, high-quality welds.
- Ideal for more intricate projects.
- Disadvantages:
- Requires advanced skills and more time.
MIG Welding (Metal Inert Gas)
- Best For: Thicker aluminum or larger projects.
- Advantages:
- Faster process.
- Easier for beginners to learn.
- Disadvantages:
- Can result in less visually appealing welds.
Stick Welding (Shielded Metal Arc)
- Best For: Repairs and heavier aluminum.
- Advantages:
- Cheaper equipment.
- Portable and versatile.
- Disadvantages:
- Lower weld quality on aluminum compared to TIG or MIG.
Step-by-Step Guide to Welding Aluminum
Follow these steps closely for your aluminum welding projects.
- Clean and Prepare the Aluminum Surface
Cleaning aluminum is crucial to achieving a successful weld:
- Use a stainless steel wire brush to remove dirt, oil, and the oxide layer.
- Wipe the material with acetone to eliminate contaminants.
- Set Up the Welding Machine
- Adjust your welding machine based on the selected technique and aluminum thickness.
- Always use pure argon shielding gas for aluminum welding, as it helps create a stable arc and prevent contamination.
- Tack the Pieces Together
- Use your welder to create small “tack welds” that temporarily hold the pieces together.
- This ensures better alignment and minimizes warping.
- Welding Techniques for Different Thicknesses
- For thin aluminum (<3mm): Move quickly and avoid excess heat buildup to prevent burn-through.
- For thick aluminum (>6mm): Use higher amperage settings and preheat the metal, if necessary.
Keep a steady hand – maintaining proper speed and heat control is crucial for clean, strong welds.
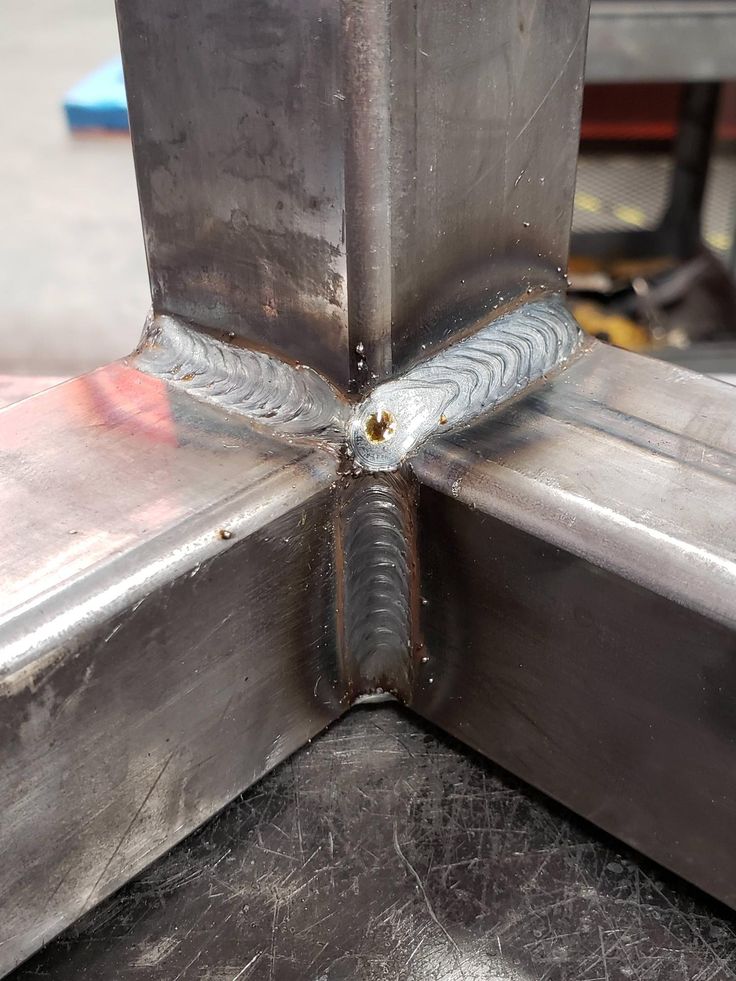
- Post-Weld Cleaning and Inspection
Cleaning after welding ensures durability:
- Use a grinder or file to smooth the weld.
- Inspect for cracks, gaps, or weak points, and repair if needed.
Troubleshooting Common Issues
Problem: Cracked welds.
Solution: Ensure proper pre-cleaning and use an appropriate aluminum filler rod.
Problem: Porosity in the weld.
Solution: Check for contamination (dirt, oil) and use high-quality argon shielding gas.
Problem: Warping.
Solution: Utilize a heat sink or clamps to manage uneven heat distribution.
Why Hire Professional Aluminum Welders?
DIY is satisfying, but for intricate tasks or large-scale projects, hiring a professional welding service like Buzz Box Weld Works in Florida offers several advantages:
- Expertise across aluminum, stainless steel, and carbon steel welding.
- Fully mobile service, bringing professional tools and skills directly to your site.
- Emergency 24/7 aluminum welding for critical repairs.
Buzz Box Weld Works also specializes in custom fabrication projects and consultations, ensuring your project is done right the first time.
Conclusion
Welding aluminum is a valuable skill that requires the right knowledge, tools, and technique. While this guide serves as a comprehensive starting point, mastering aluminum welding takes practice and experience.
If you’re in Florida and need assistance with aluminum welding—whether for repairs or custom fabrication—trust Buzz Box Weld Works. Our mobile welding services are ready to help with whatever project you have in mind.
Contact us today to learn more or book your service—because at Buzz Box Weld Works, we bring expert welding solutions to your doorstep.